
My tea-steeped journal of 2024

This summer we participated in an extraordinary project in the Vintage & Collage Club. We worked on soaking papers and collages in a tea bath, and then using the papers to create pages of collages that we then bind into a journal.
We split the project into parts done over several months in the summer.

In the early stages we gathered our materials such as teas and some rusty bits that we planned to place between pages.
After that, we began assembling simple 3-piece collages to serve as backgrounds on pages that would be later dyed. Later once the pages came out of the tea bath and were dry, it’s then possible to see how the pages came out and then add whatever embellishments on top.

We also assembled a frankenpaper, where we connected a bunch of papers together. The point is to use the frankenpaper to place all our papers inside and wrap everything up in a bundle that we would soak.
Once the bundle was assembled, it was time to soak.
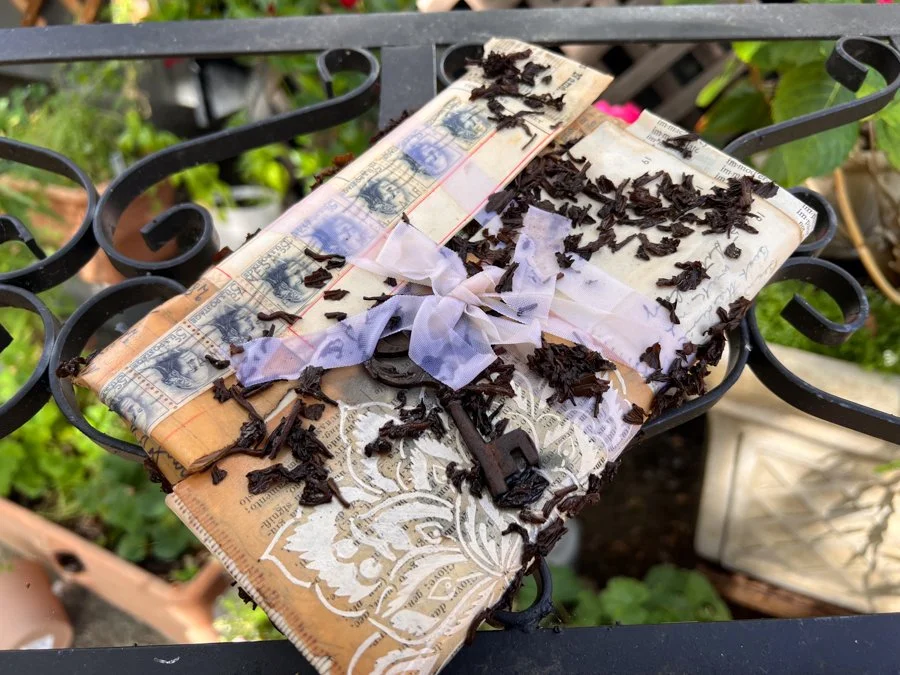
After it had a few hours to drip dry, I carefully opened it and started separating pages. The purple in the tea really added some interesting color to the pages!

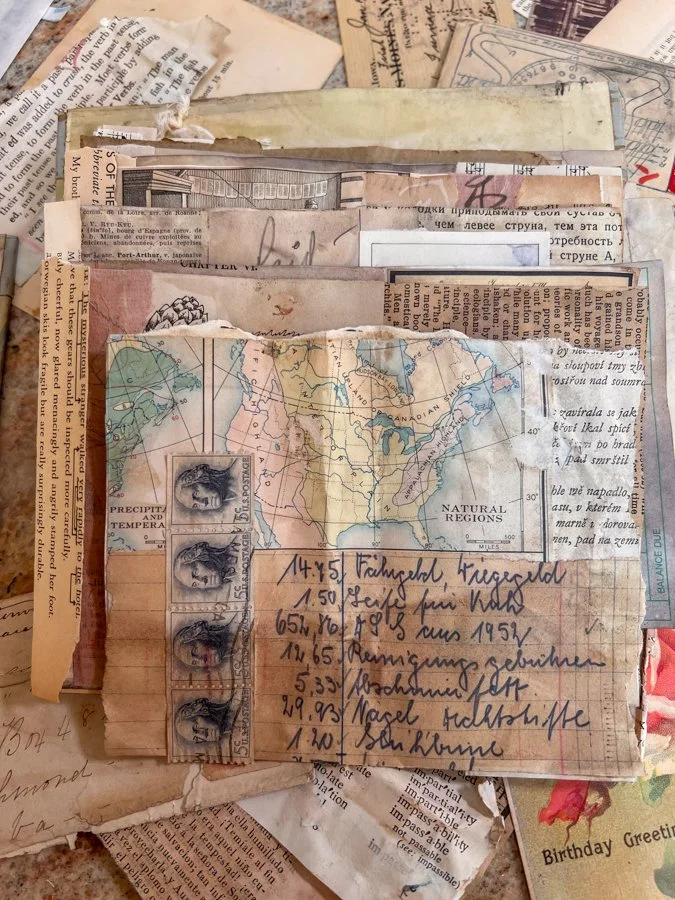
After I separated all the pages, I let them dry. They felt completely different! They were stiff and crinkly, and were lovely to handle.
Once I had my dried bundle of papers, I could look over the individual pages and decide how I wanted to add layers on top. I also needed to decide how I wanted to layout the pages, what order did I want them in, and how was I going to assemble everything with the covers.

I didn’t have all the answers right away, but I knew I could start collaging on my pages. I set up a large space on my (very clean) kitchen counter and pulled out my papers to begin collaging on my tea-dyed pages.
I quickly realized that I needed more tea-dyed embellishments. Since I already knew what worked for me the last time, I easily set up a new tray where I could soak a few more pieces.

The great thing about summer is that papers dry very quickly outside. Within an hour of this tea soak, I was able to use some of this ephemera in a collage.
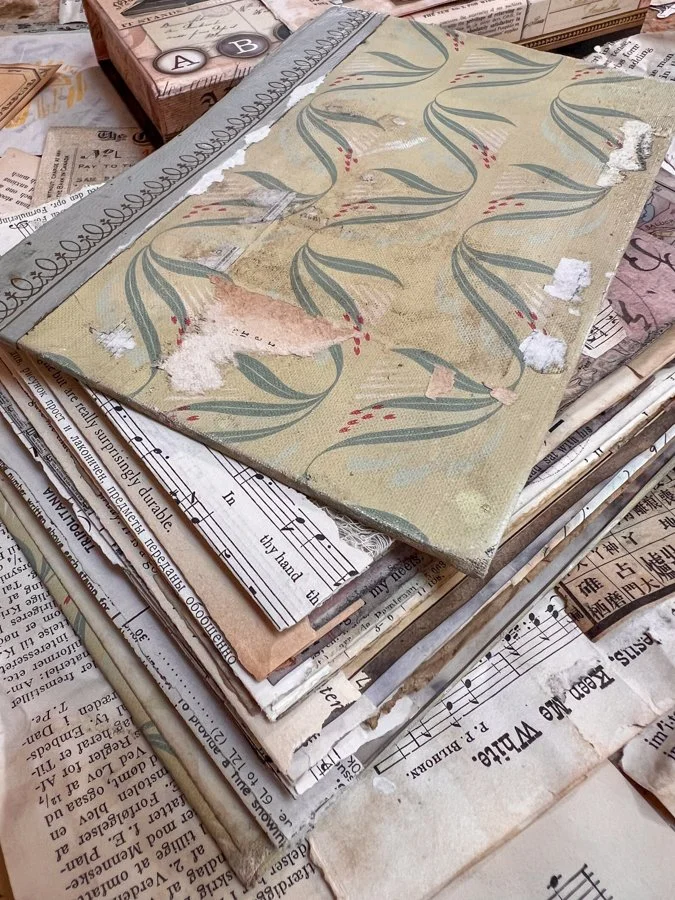
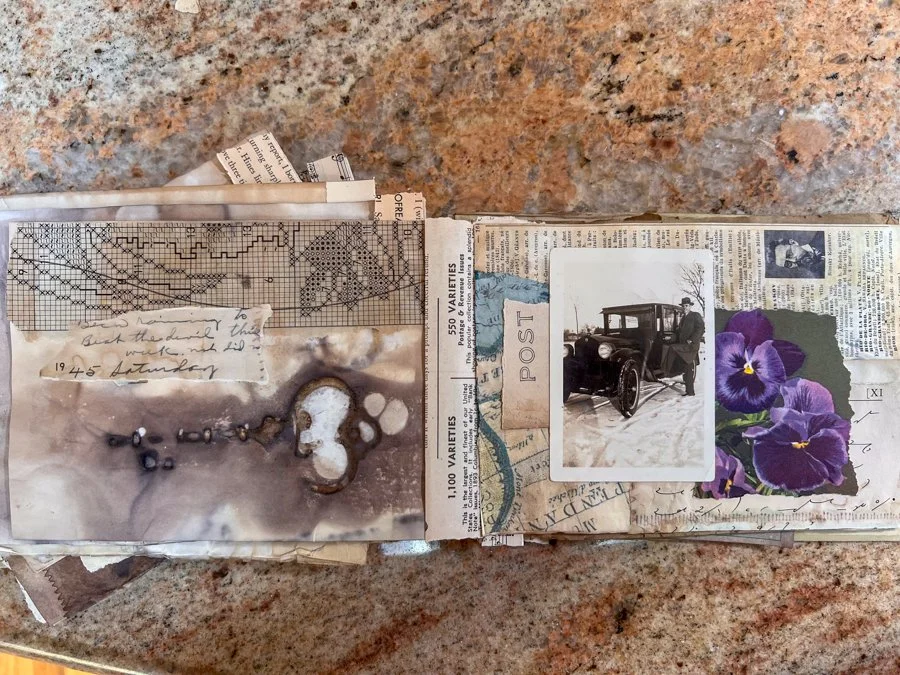
My collages took time to assemble, but luckily I could keep everything out for a few days and keep working with lots of breaks between. Here’s how some of the pages turned out:


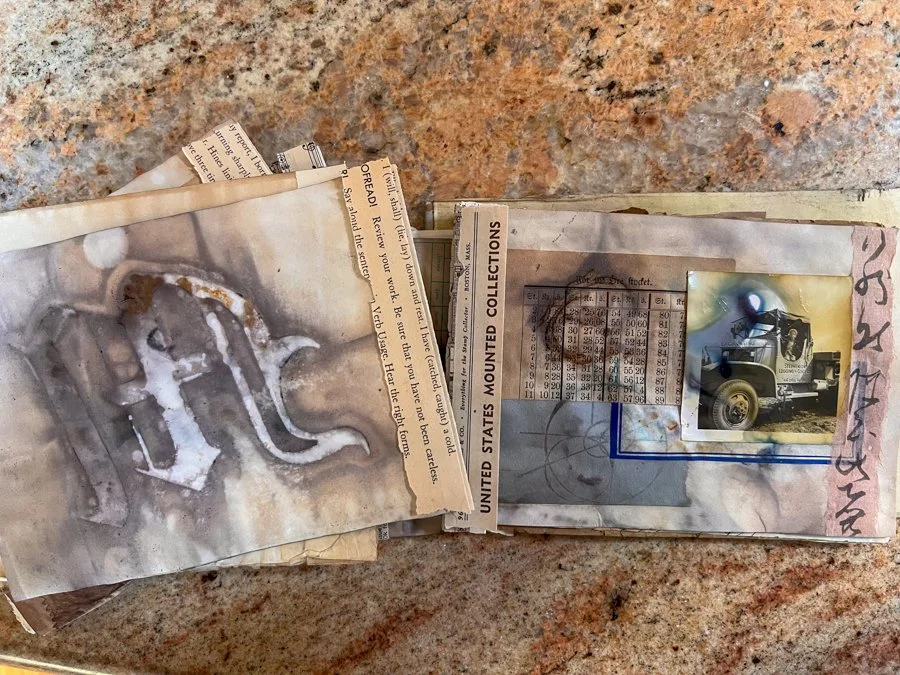
I had collage on one side, but the back was blank. Sometimes there were really beautiful marks and colorations from the tea and rusty bits and I didn’t know what to do. I left some pages blank, and others I added a few papers, just to bring attention to the marks.

This was the inside of one of the covers. I couldn’t over up those beautiful colors!
Here’s the top of the cover. At first I was disappointed that it didn’t come out more “clean” and that some of the paper it was wrapped it came off on the top. I then realized that I liked the bits of remnants that stayed behind. It adds character to the entire top.


For the binding, I used a hole punch and some coarse red twine. I also used some fabric (and rubber stamped some handwriting) to connect the front and back covers, but after I glued on those pieces, I tied the twine with a bit of lace between.


In all, I am so happy with how this turned out. It was such a great experience that I hope to repeat again in the future. Maybe again next summer? I hope so!
Here’s the video flip though:
I hope this has inspired you! If you made one of your own, let me know in the comments how it went. Were you happy with how yours turned out?