My "Washed and Worn" journal making experience
The 4-day workshop I attended in the Portland area, in August was called "Washed and Worn". We we would be making journals using vintage papers that were tea dyed and distressed. Our instructor was Michelle Geller, an artist who makes amazing journals. She also well known for being a big collector of vintage Dennison labels and office supplies. I'll have to devote a whole other blog post, just on that!
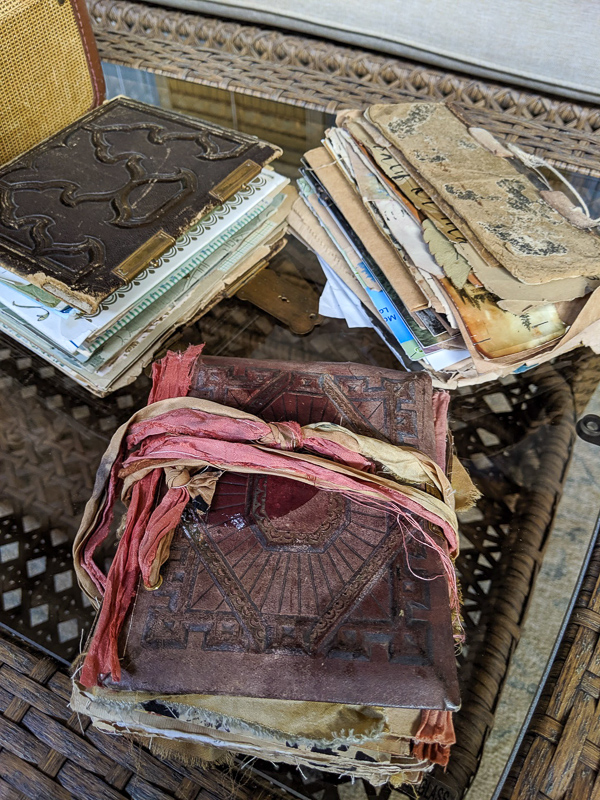
I'll start by sharing some photos of the kinds of journals, made by our instructor, Michelle I love the look of these kinds of worn-out journals, and couldn't wait to learn how I could create something like this as well.
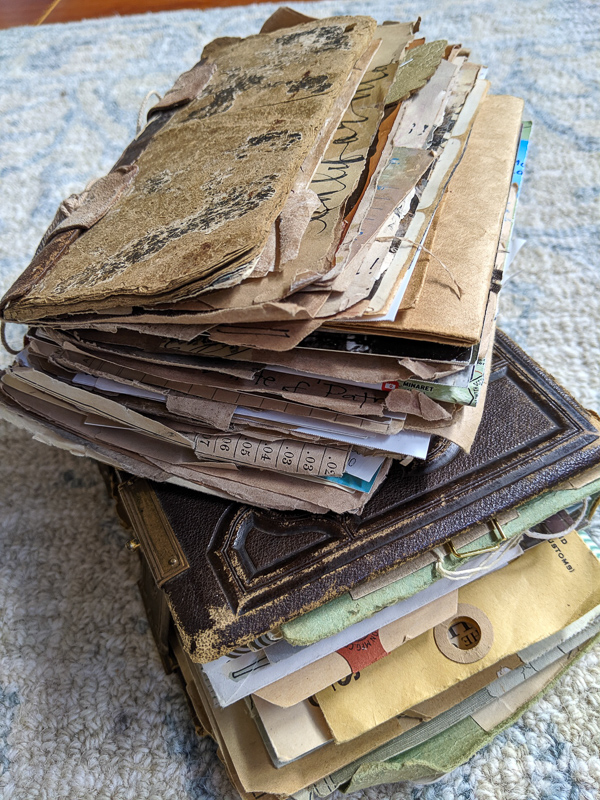
Pretty amazing, aren't they? I almost couldn't believe that we were going to be creating in a similar style.
There were nine other participants of which I knew one other person, my friend Judy, who I knew from the mail-art group I belong to. The others I discovered to all be lovely ladies, and we found plenty of things to talk comfortably with each other about. The "washed and worn" workshop was organized by Monica at You Shine Studio, and she did an amazing job making us all feel comfortable and welcome in our environment. If you are interested in attending something like this in the future, get on her mailing list!
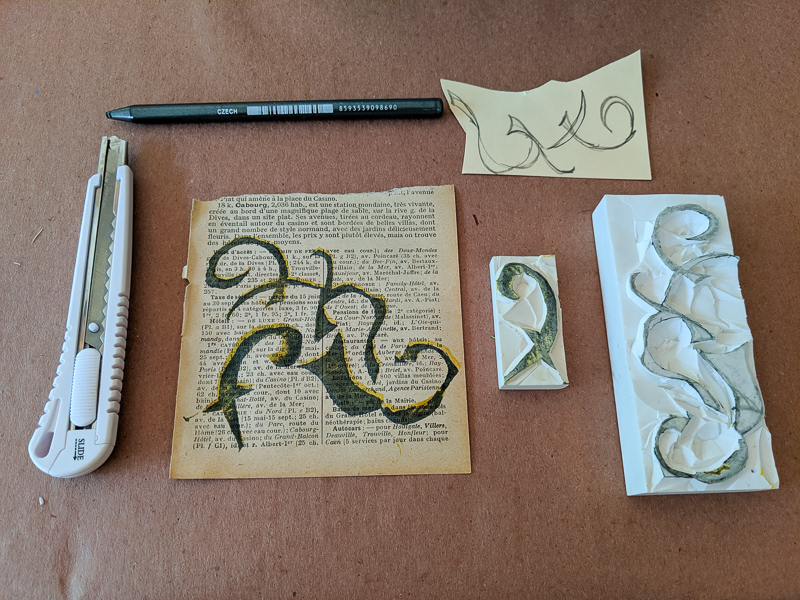
On the first day of the workshop, one of the first things we did was create a rubber stamp or two, using erasers and a sharp blade. Here's what I created. I didn't have anything in mind. I just wanted to create some type of mystery script.
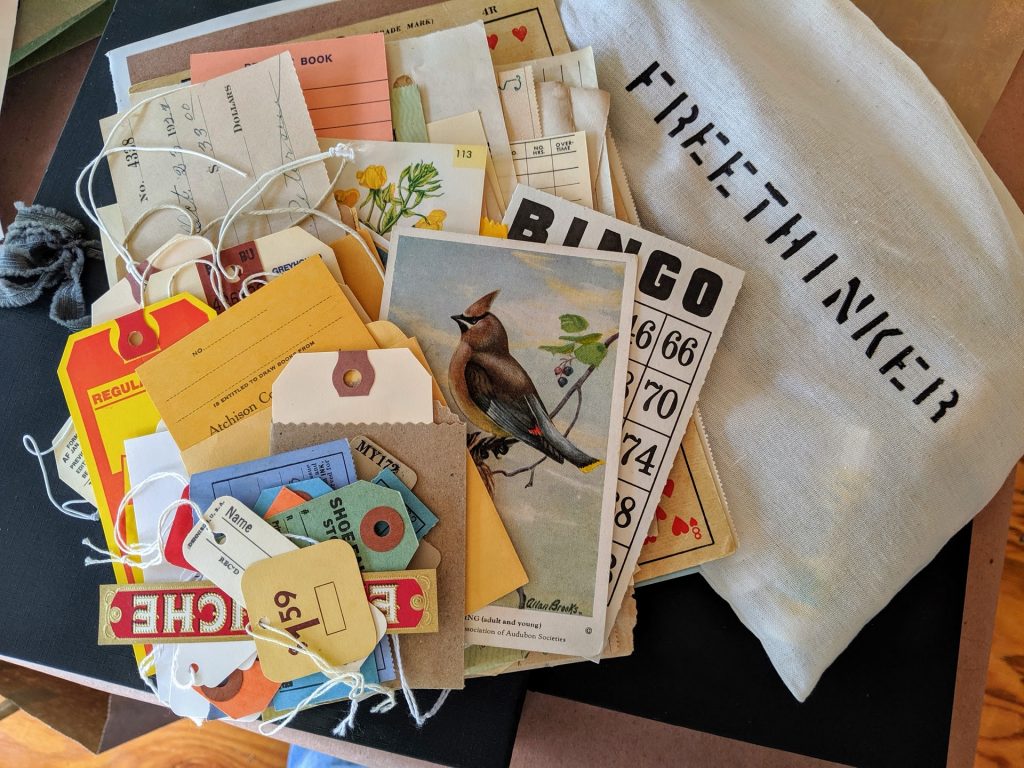
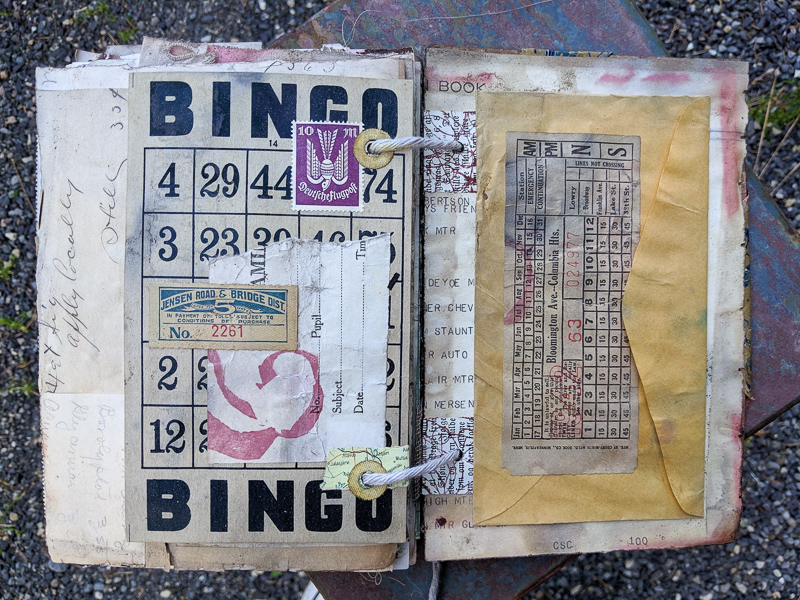
After that, we took ephemera bits and embellished on top of vintage papers. These papers were intended for the journal. In addition to individual journal pages, we needed to create a large oversized page that would eventually wrap the journal pages before placing everything in a tea bath.
Most of us brought papers to work with, but there were plenty of materials provided by Michelle. We also got some sets of papers with all kinds of vintage ephemera that came in handy for adding on to our pages.
A huge pot of tea
I didn't take any photos of the gathering and assembling of my pages because I was so busy working! Here are some pictures when things are all wrapped up and ready to be placed in the pot of tea.
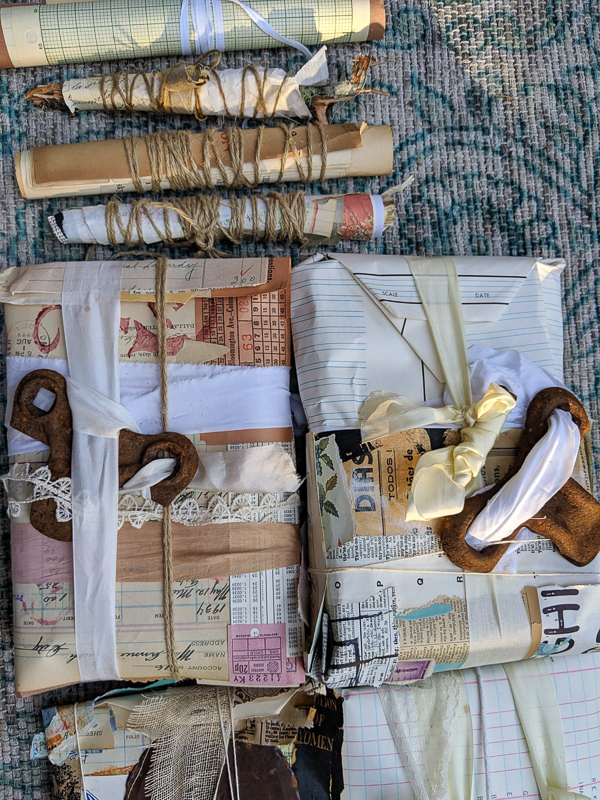
We took ribbon or twine, or lace trim, or whatever to bind everything up tight. Those rusty metal pieces get woven in there to pass along some interesting colors to the papers and material going through the tea bath.
And then, here we go.
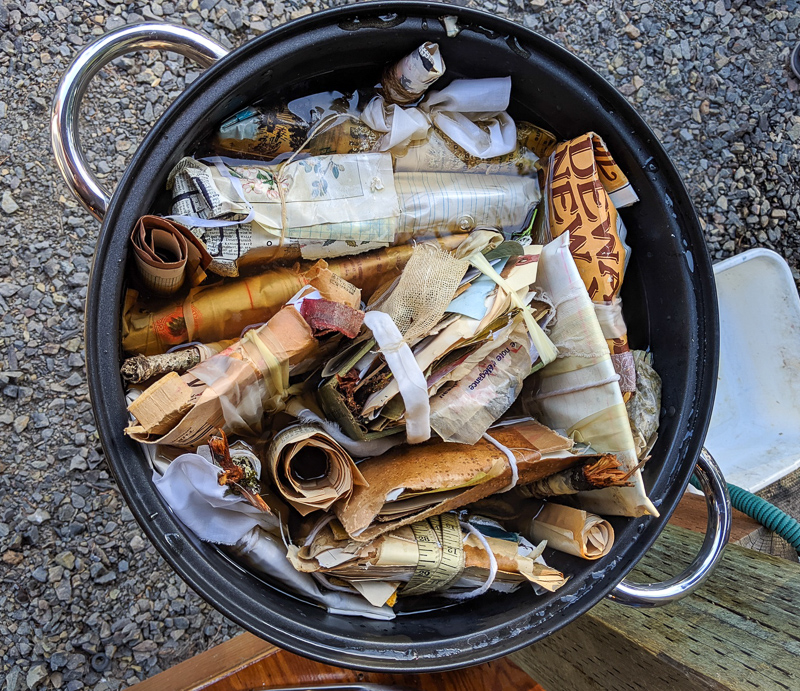
More hot water was added in the pot until the tops of the pages were submerged. I'm not sure how long everything sat, but it was several hours.
This is what we saw the next morning.
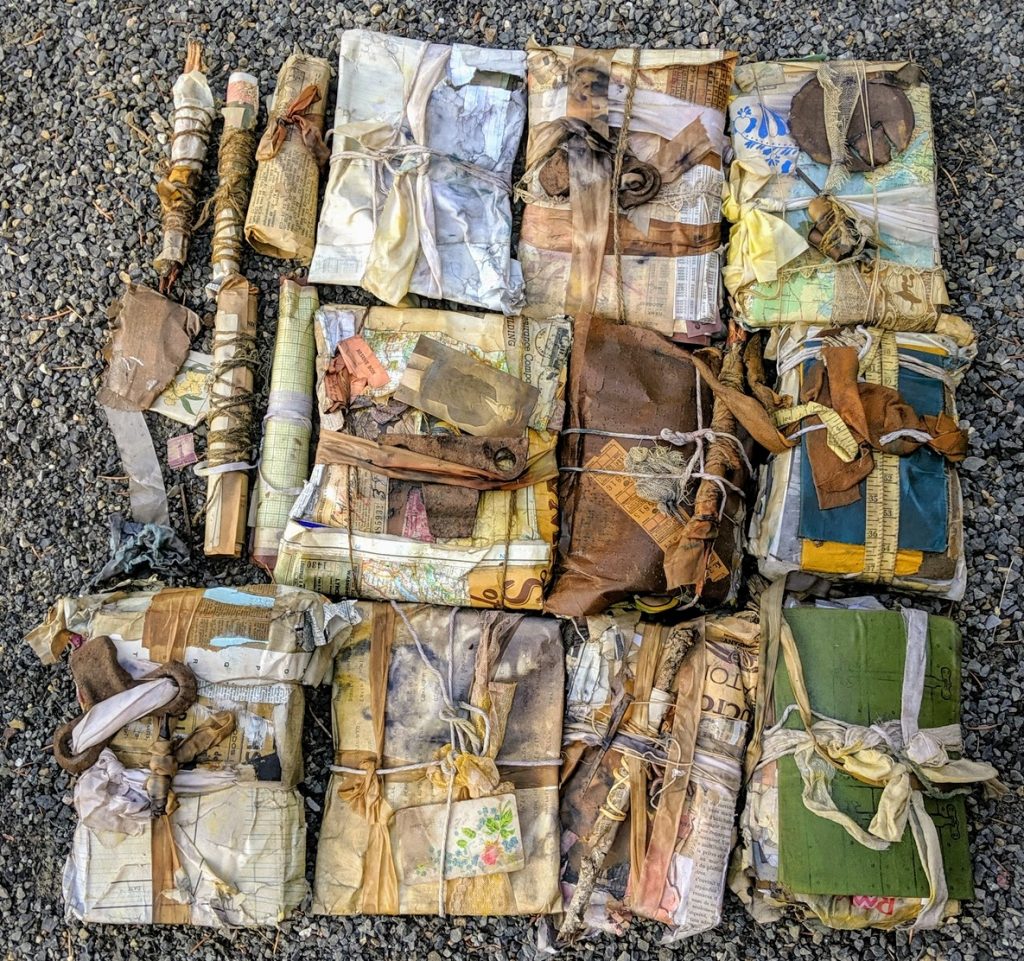
They were certainly fascinating bundles, grouped so prettily together. Here's a closeup of mine:
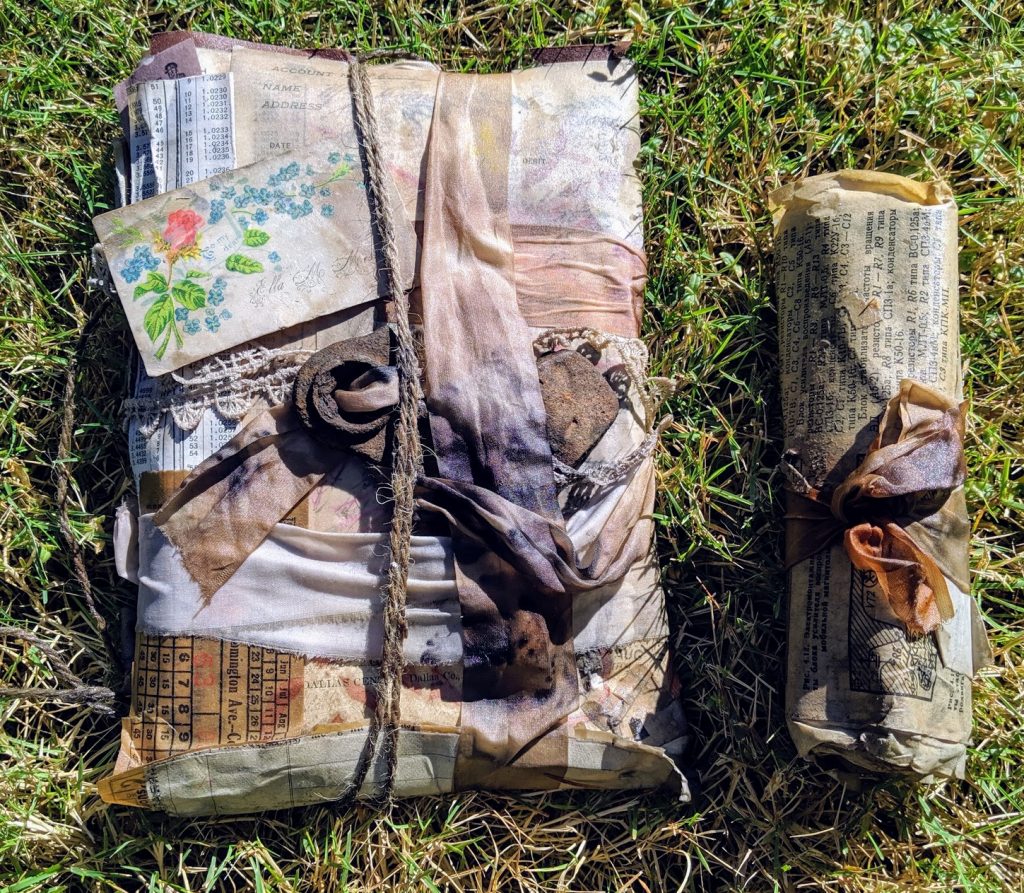
I opened everything up and let them dry out in the sun for an hour or so. Most dried rather quickly. After that, it was assembling the pages in the order I wanted, thinking about the binding, and reinforcing the pages at the holes where I would run my twine through.
My "Washed and Worn" journal
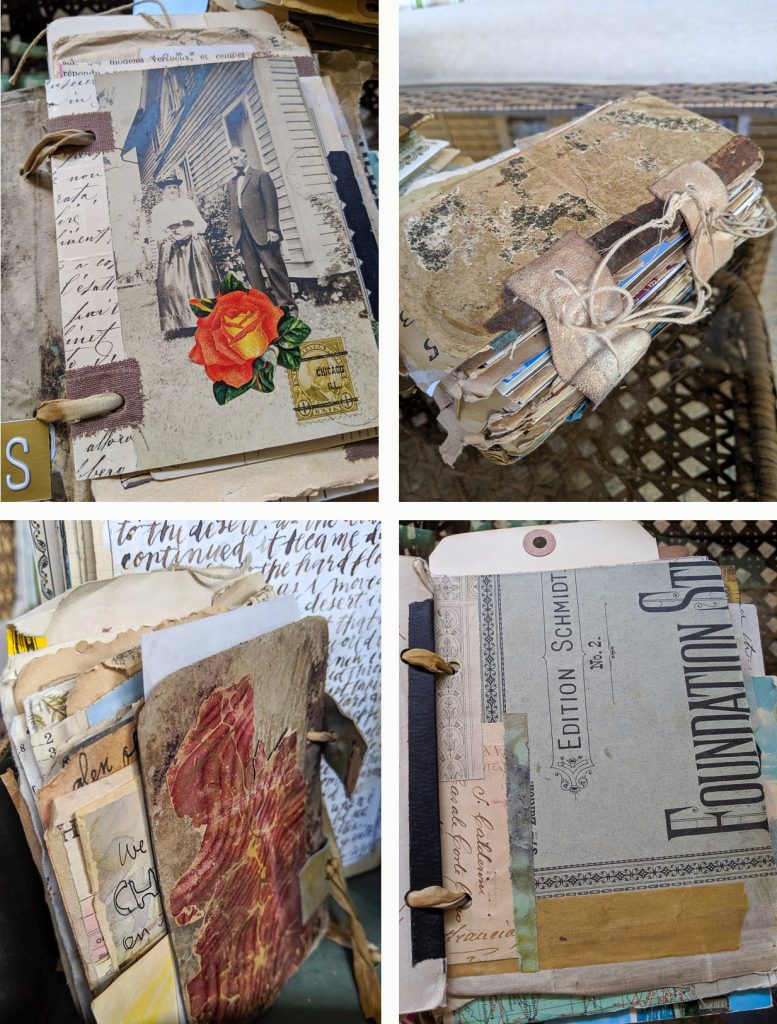
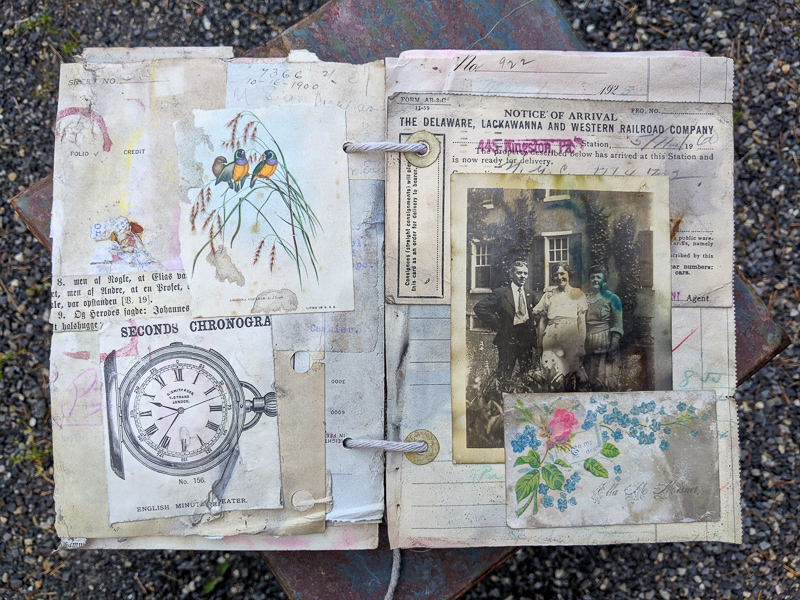
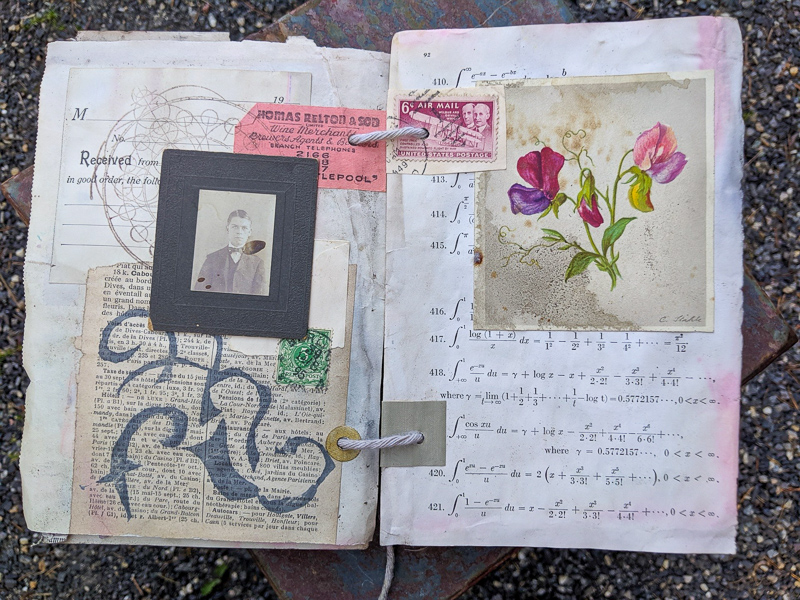
It was a lot of work and all of day 2 and 3 were taken with putting the book together. Here are my pages. I love how they turned out! I also pressed a flower between my pages. Hopefully it wont disintegrate anytime soon.
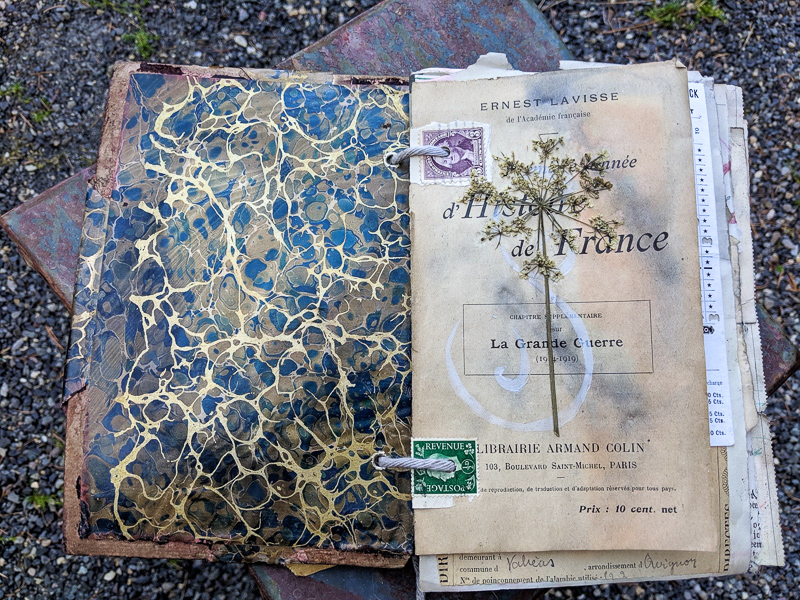
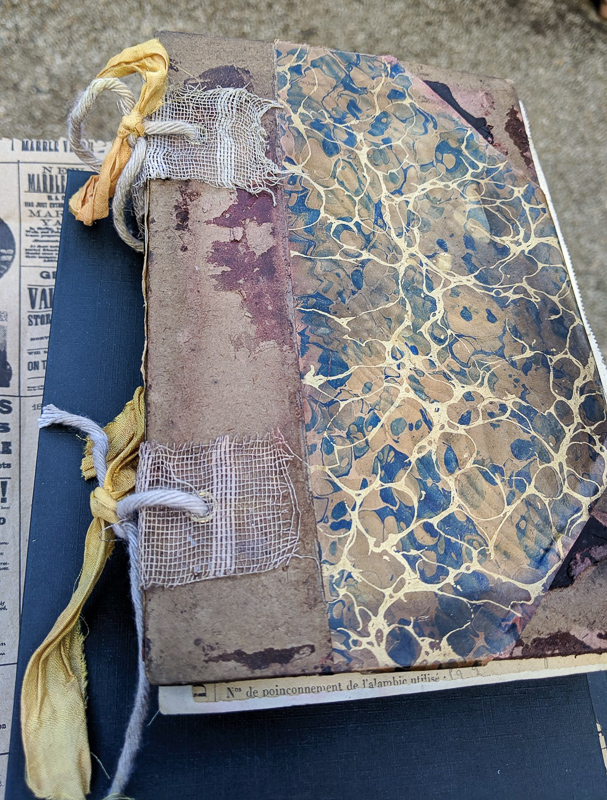
Sometimes I used postage stamps as page reinforcers. I love the coloring on the envelope below. That marbling is so neat!
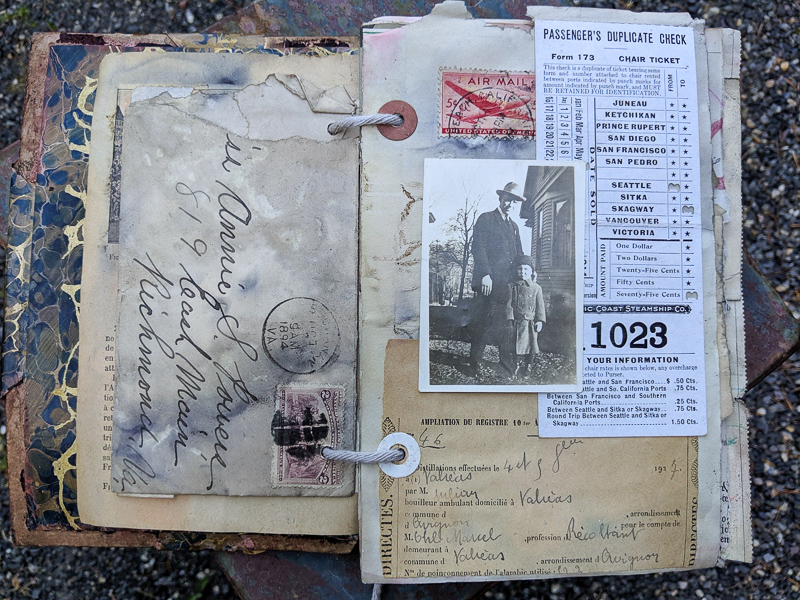
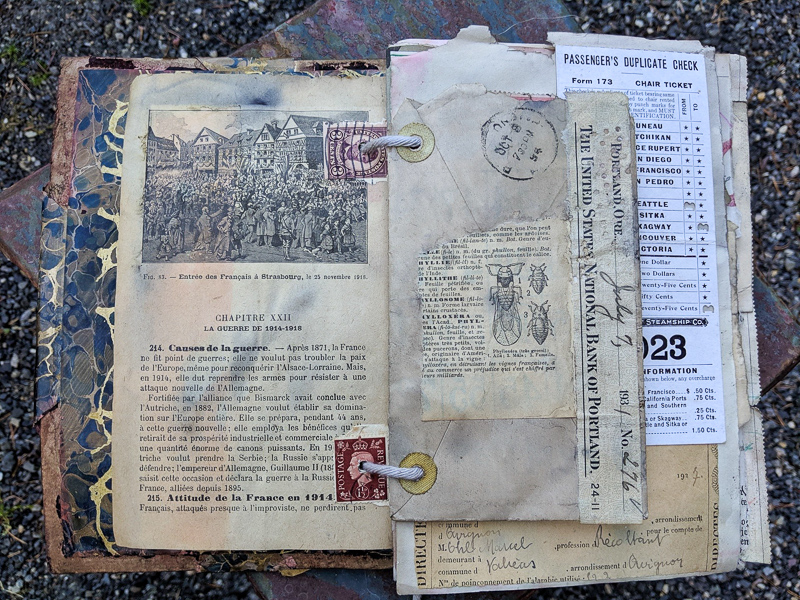
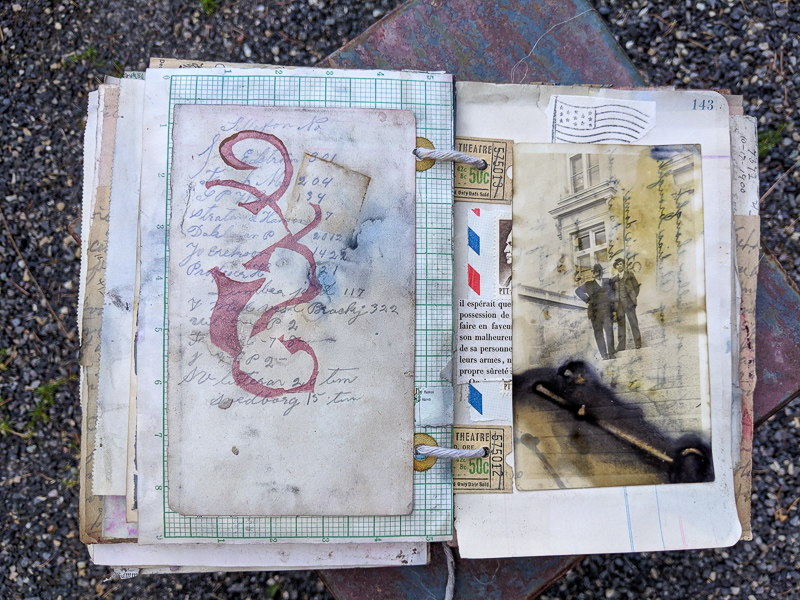
Can you see the imprint of the skeleton key on the page below? I had a couple of rusty keys sandwiched in between my papers.
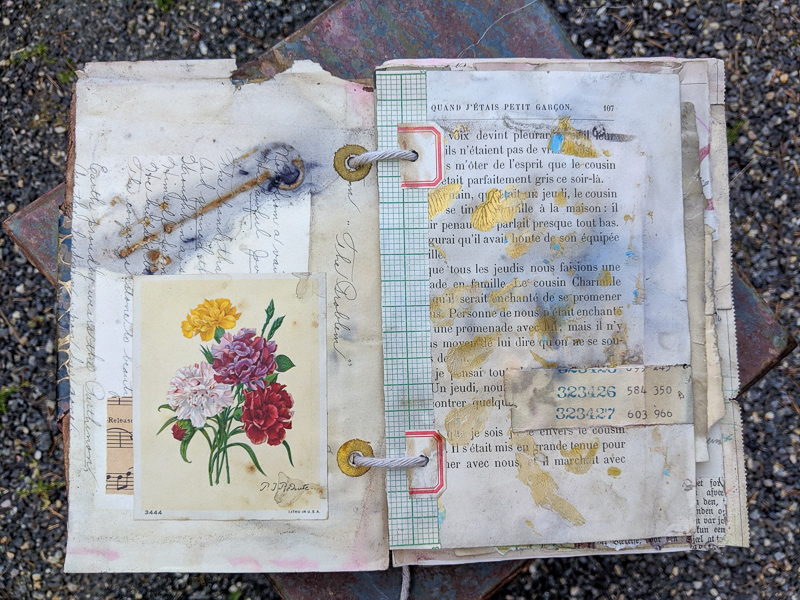
The birds and the floral images are what I picked up a few days earlier and Scrap in Portland.
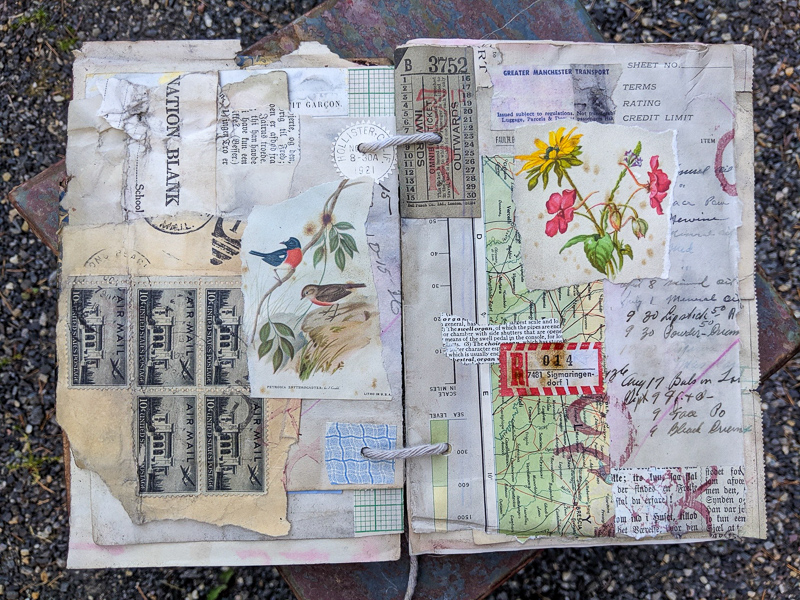
Many of the photos I used came from other participants who brought things to share.
Michelle allowed me to briefly demonstrate how to put together a collage. No one need the help, everyone did a fabulous job, but it was nice to share some simple techniques for laying some pages together.
Quite a lot happened to that photo below, in the tea bath. Text transferred to photo from a letter that was lying on top of it, and also, there is another imprint of a key there.
The covers warped a lot. So much so, that I am considering swapping them out with another set that didn't go through the tea bath.