
The Process of making a journal cover


I'm not sure if I've shared much about the process of making a journal cover. I do them all pretty much the same way, so I thought I should write a bit about it.
The Process
I start with cutting down some heavy weight card stock to the size I want. I don't have specific measurements but it's usually around 5 x 8" with a spine of 1.5".
After I cut the board, I cut a piece of tyvek paper that will cover the width of the spine and a half inch over to the front and back covers. Tyvek is a "paper" made with plastic fibers that help give the joints strength so the book covers don't tear off over time. I use double sided tape to attach it.

Once the tyvek is in place I cut down the paper I want to decorate the cover with and glue it or attach it with double sided tape. I create 6 pieces: 3 for the front, spine, and back, and then 3 for the inside front, spine, and back. In this photo I've moved the pieces below the cardboard so you can see the layers. Normally the pieces of decorative paper would be flush, or very near the edge of the page.

The cover should be in one continuous piece by this point. Lay it flat on your work space with the side you want to be on the inside covers lying up and take 2 large pieces of white tissue paper, laying them on top of your cover. Cut the two pieces of tissue a quarter of an inch larger than your covers, on all sides.
With a paint brush and some matte medium or glue, attach the first piece of tissue paper over your cover. I usually start with the spine and move out to the covers. With the tissue paper glued on, there should be a bit of extra paper hanging off the edges.
Once it is dry (I usually use my hair dryer to quickly dry it), take your scissors and carefully trim off the extra tissue paper. Turn it over and lay your second piece of tissue paper down. Use your paint brush to glue down the second sheet. With the extra quarter inch, wrap it over the edge and use the medium to glue it down.
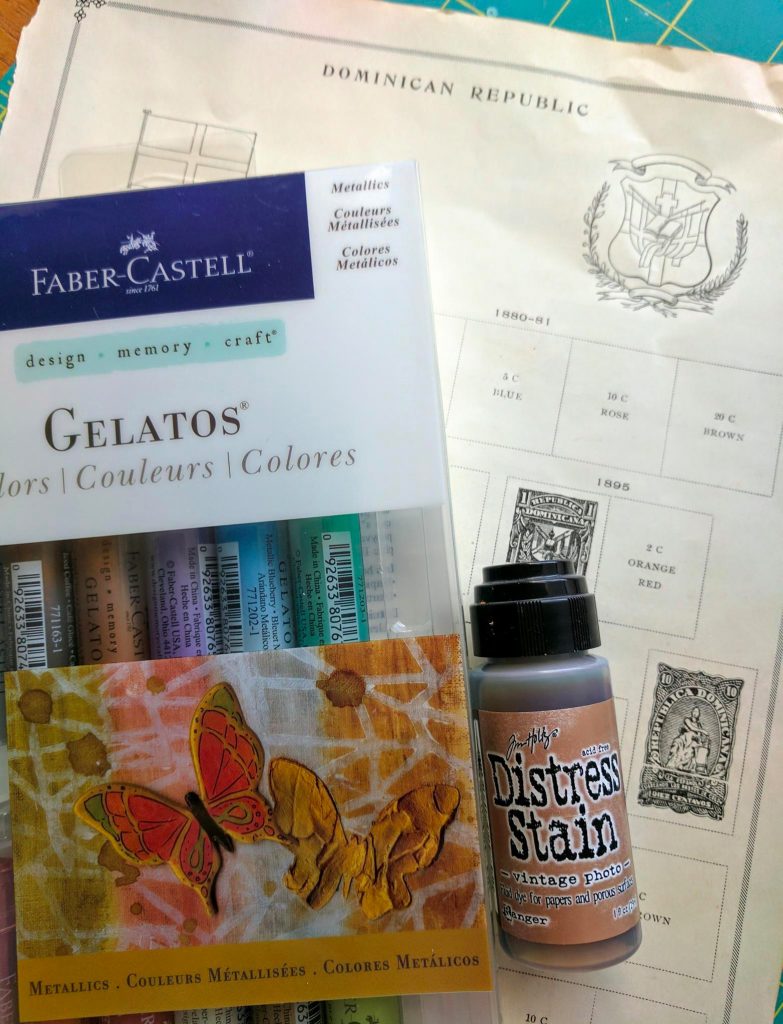
Dry everything again. Now the fun begins with paints, dyes, and whatever tools you'd like to use to decorate your covers. I like to use Distress Stain, acrylic paint, rubber stamps and permanent ink, and lately Gelato pigment crayons.
Some samples

This cover has a simple element from a rubber stamp and ink. Simple but effective, I think.

This one also has a rubber stamped impression.

After you have done enough to your covers, seal them with a varnish. I use Liquitex Satin Varnish but I think just about any varnish will do. If you have experience with Mod Podge that might work too. I ruined an important piece of art with Mod Podge (I couldn't get rid of the tackiness, even after days of drying it, and it stuck to something else causing major damage to the cover and the other piece next to it) so I never touch the stuff anymore.
I sometimes attach metal pieces or other decorative elements. Some planning is needed for that, but they do get attached once the varnish is dry.
