Masterboards: maximize your art with this simple technique!
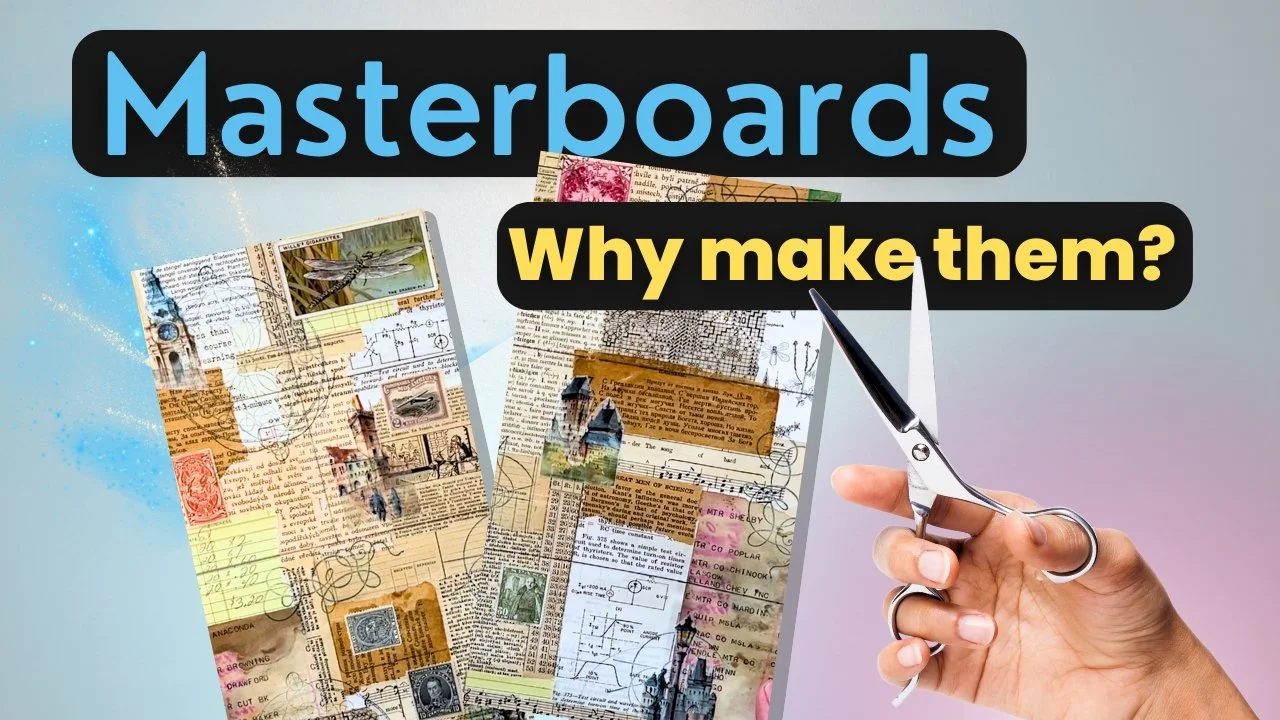
Ever wished you could create a whole bunch of art pieces at once? Or maybe you struggle with that fear of messing up a blank canvas? Enter the magic of masterboards! It’s a simple yet incredibly effective technique that allows you to generate multiple smaller art pieces from a single 12x12 inch sheet. It's a game-changer for boosting creativity and maximizing your art supplies.
What is a Masterboard?
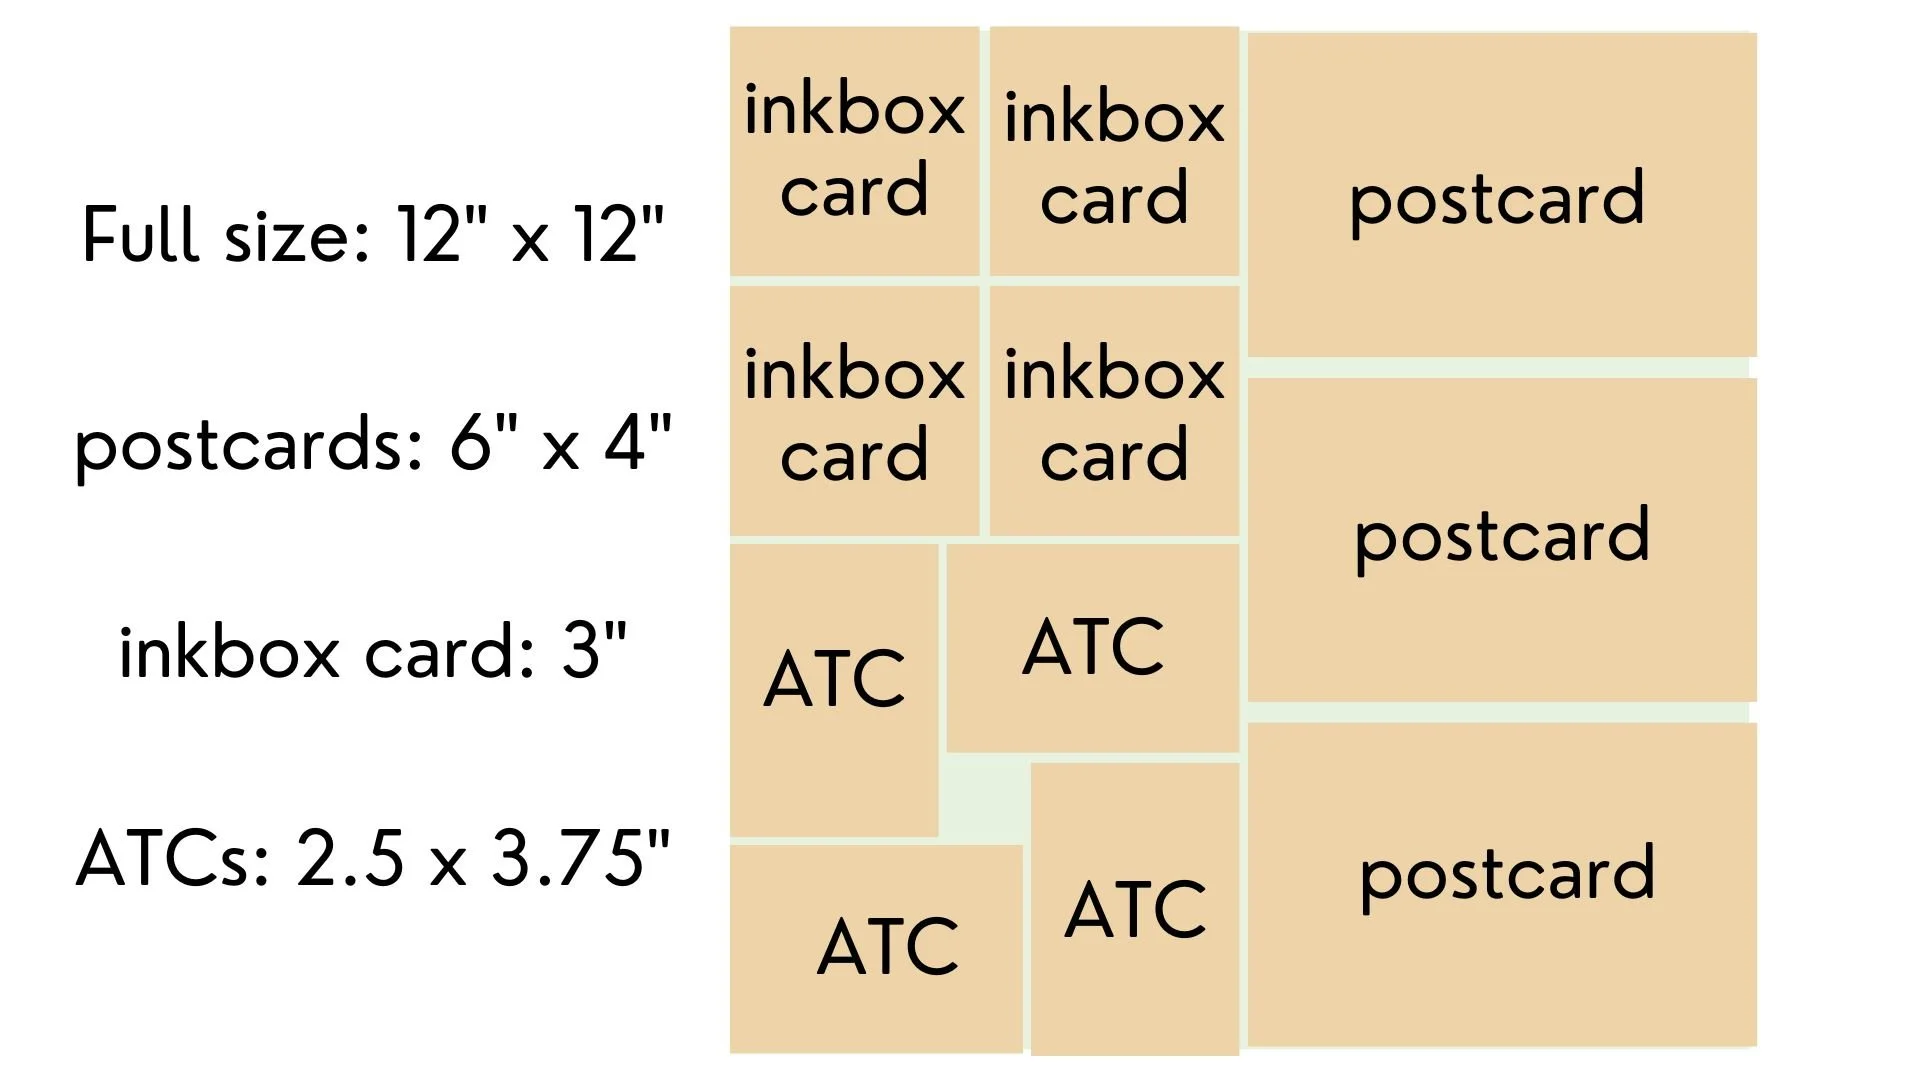
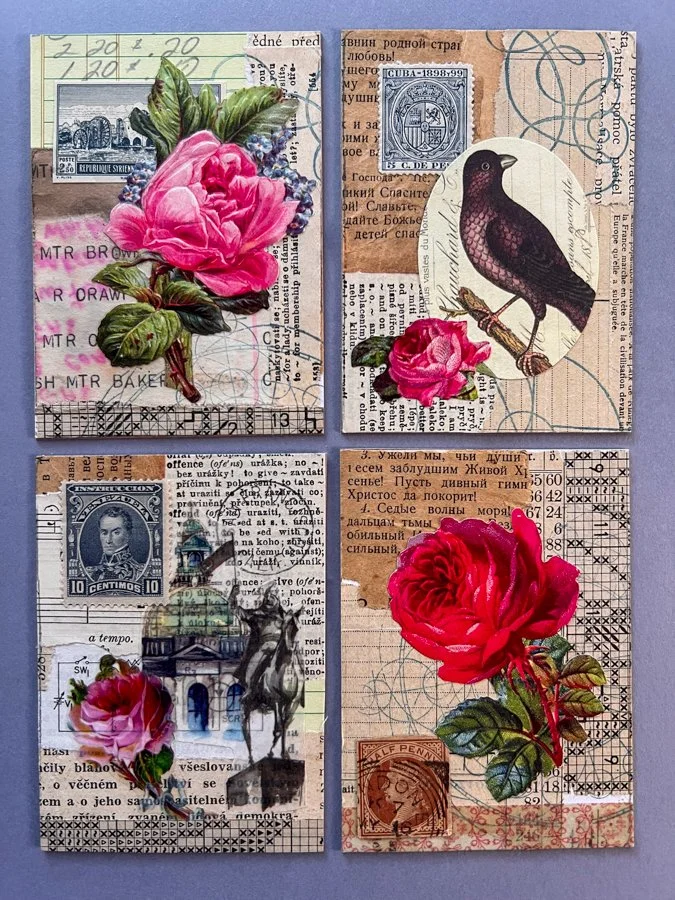
Think of it as a creative playground! You take a 12x12 inch piece of paper – often the back of a patterned paper sheet – and use it as a base for collage, painting, or mixed media. Once you've filled the board with your art, you cut it down into smaller pieces like postcards, Artist Trading Cards (ATCs), or inkbox cards.
Why Masterboards are Awesome
Efficiency: Instead of creating one piece at a time, you get multiple finished pieces from a single session. Talk about a productivity boost!
Cohesive Look: The pieces cut from a masterboard share a common theme and style, giving them a unified look. Perfect for creating a series or a collection.
Freedom to Experiment: Since you're working on a larger scale, you can play around with techniques and ideas without the pressure of potentially "ruining" a single piece.
How to Create a Masterboard
Plan Your Cuts: Decide what sizes and how many smaller pieces you want to get from your 12x12 sheet. This will guide your collage placement.
Mark Your Board: Lightly draw lines on your masterboard to indicate where you'll be cutting later. This helps you visualize the final pieces as you work.
Base Layer: Start with a collage of neutral papers to cover the entire board. This creates a foundation for your artwork.
Layer Up: Add more papers, stamps, washi tape, paint, or whatever your heart desires! Don't be afraid to experiment and have fun.
Cut It Out: Carefully cut along your marked lines to separate the individual art pieces.
Finishing Touches: Glue on backings for postcards, ink the edges of your ATCs, or add any other embellishments to complete your creations.
Ideas for Using Your Art Pieces
Postcards: Send them as they are or mount them onto cardstock for a sturdier feel.
ATCs: Trade with other artists, collect them, or give them as unique gifts.
Inkbox Cards: Create mini-books or display them in a Rolodex for a fun, interactive art experience.
Tips for Masterboard Success
Orientation is Key: Think about how your final pieces will be oriented (portrait or landscape) when placing your collage elements.
Texture is Your Friend: Use a variety of papers and textures to add depth and visual interest to your masterboard.
White Space is Good: Don't feel the need to fill every inch of your board. Leaving some white space can create a more balanced and visually appealing design.
Postage Power: Postage stamps are a fantastic way to add pops of color and vintage charm to your collage.
Embrace the Oops: Don't get hung up on perfection. Masterboards are all about experimentation and embracing the unexpected.
Ready to unlock your creative potential with masterboards? Give this technique a try and watch your art multiply!
For a more detailed look at the process and lots of inspiration, be sure to watch the full video!


