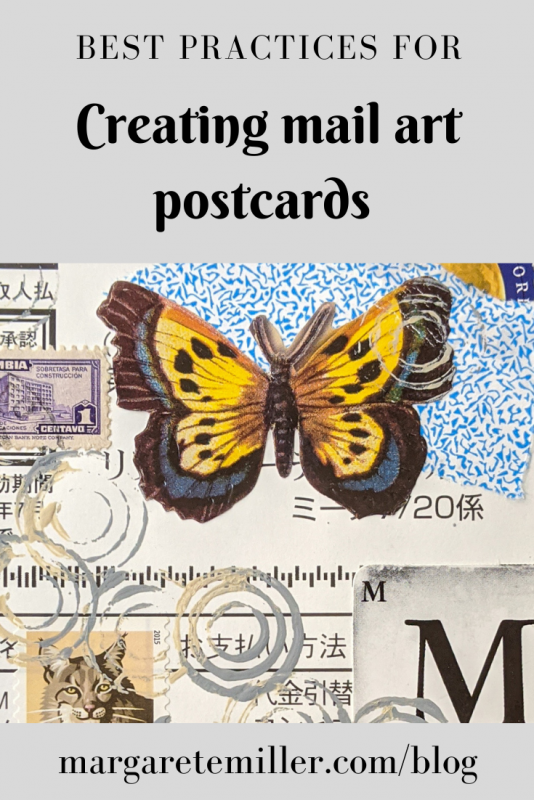
Best practices for swapping and exchanging art
I sort and process a lot of mail art over the course of a year. I love seeing all the incredible things that people create, and look forward to swaps every quarter. I also see common problems while going through collages, and I wanted to share those in the hope that if you are aware of these issues, you will avoid making them.

General advice
Here's some general advice for creating postcard-sized collage mail art that is going through the postal system.
- Start with a good substrate. Image you are holding a postcard in your hand. What does it feel like? How heavy/sturdy is it? Decide what you could use that can be mailed. A cereal box or other food packaging box should be sufficient, depending on what you glue on top of it. Hopefully it’s just paper you are adding.
- Don’t use anything bumpy — no buttons, lace, fabric, fibers, etc. Even chipboard can be problematic if it is not sufficiently anchored to your substrate. Flat paper is the best and safest choice.
- If you are printing images off the internet to use in your collages (totally fine!), use good quality images rather than images that are blurry or pixelated. Using a poor-quality vintage image is distracting to your overall work, and is worse than using nothing at all.
- Don’t use gluestick to attach papers to a slick surface such as a playing card. Use double-sided tape or a heavier gel-medium to attach papers. Gluestick is fine for gluing paper to paper.
- Wait at least 24 hours after you complete your card(s) and then go back and check that all your paper elements are sufficiently affixed. If they aren’t, glue them down again and don’t be skimpy on the glue. Wait some hours and check again.
- A top coat or varnish is entirely personal choice. I prefer not to use a top coat, but this is just a matter of taste. Typically I don’t like anything shiny/glossy over my collages. If you feel more confident using a varnish over the top of a collage to keep everything secured, then do so.
- If you do use a top coat, after you've waited 24 hours, run your hand over it to make sure it's not tacky (Mod Podge!). If it's still tacky, sprinkle a little corn starch over it and dust it off, or run a wax candle over it.
A few other things about participating in one of my exchanges
- For the art exchanges I host, at least a third of your paper elements should be vintage or vintage-inspired. This is the main style component to your collages; themes change according to the swap.
- Your collages must be originals that you made and not copies, even if it’s your own work. This doesn't apply to zines, however. With zines, you make a single zine and copy it several times. You mail in the copies for exchange.
- Sending a return address label with your submissions is very helpful! Please include one.
- If the swap is a postcard, don’t forget to write a note on the “message” portion. So many times I see beautiful postcards that are completely blank on the other side. Again, I often will write the name of the artist if the card is blank, but sometimes it’s too much work. It’s disappointing for a recipient to receive a card and not know who it came from or from what part of the world. It’s lovely if you could write a little note, but the bare minimum should be your name and city.
Where to sign up
To participate in a swap, here are the steps:
- Go to my art forum called the Collage Art Collective. It’s free to join but have to answer a single art related question to join (and it’s not difficult, I promise).
- Once you’re inside, enjoy seeing all the lovely and inspirational photos and posts about collage art that many members share.
- On the left side of your (computer) screen there is a navigation menu. Click on CIRCLES.
- Click the listing for the latest swap to sign up.


